Wooden 10x16 Shed Making Drafts - Building Up A DIY Outbuilding
Work with attention and don't forget to take a look over rest of related plans before starting actual assembly, in order to get the job done in a professional manner. Fix Battens 75mm x 25mm over each join. Tack pairs of plates together with 8d nails after marking them so they don't get separated and mixed with other plates. Cut one end at 15 degrees and the opposite end at 75 degrees, by using a miter saw. The measurements are given first in inches, followed by (https://shedconstructionplans.com/6x12-saltbox-shed-plans-blueprints) millimeters in brackets. Space under the bottom of wall is filled with crushed limestone.
Deck and porch are all pressure treated lumber and covered with deck paint. The building of roof trusses as well as the walls is done right on the floor platform. Nail thru boards where they overlap at points along the lines of rafters and raking top plates using 90mm galvanized nails. Dead load for residential construction is generally considered to be about 10 pounds per square foot. Drive screws through sides and into beam and ledger ends. For example would show as my story on Web page containing your question. Normally, for double doors, one locks one door to the top and bottom, and then the second door latches onto first.
Hinged doors take up less space and close more tightly and securely. Add blocks or wedges between blocks and skids until floor is level in all directions. Our third (find more information) great tip is to be your own best recycler. Use a tape measure, speed square and pencil to mark stud locations. Because this is case, the last thing you want to do is to have to replace it anytime in the near future. Treated wood posts and the shed itself are other expenses you'll need to factor in to bring your project to completion. Complete the job by building door out of cedar, and nailing on window trim and corner boards.
Processing video...
Place shims behind each hinge and at the top, middle and bottom of the latch side. Work with attention and adjust size and the design of the shed to match style of your property. Position poles in place in the holes. Neighbors have helped the process by dropping off any beach treasures they find on their walks. If you want a screen, you'll have to construct a separate frame and staple screening to it. Follow this illustration as you construct the shed. Also, give your local utilities a call too before you put a shovel in ground and through your phone or cable line.
The trick is to craft sure they are all precisely located as needed, perfectly level with each other, and firmly set on compacted material. Cut interior rafters to size, following angles of front and back cross members. This will also expose any high spots in the soil. Now nail each wall panel to decking as well as to adjacent wall panel. Raise your gun to a sharp angle with tip still compressed against skid. The longer the anchor, better the stability of it. Walls are built in the same fashion, keeping your layout on center and everything squared. Because trusses are carefully engineered units that shouldn't be cut, they are not a good choice for roofs that may be modified at a later date.
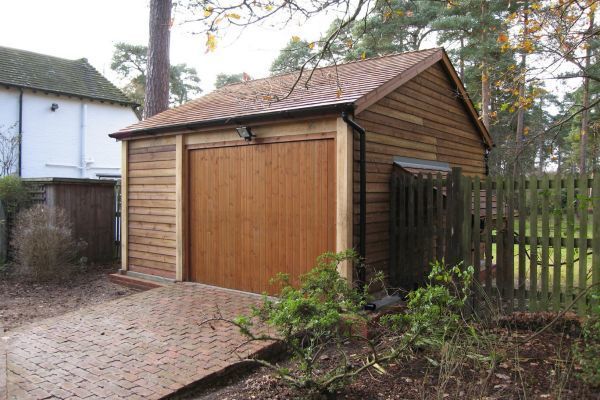
Lay two alongside each rafter and screw them to particle board floor. Many pole barns are built by putting pressure treated posts straight into ground or on concrete piers. Another type has a flat timber block set into the top so you could toenail a joist in place. Also verify that the plans conform to local building codes and practices. Don't bother to trim them flush with the front and back garrets until you're finished nailing the six courses on each side. The roof is also a vital consideration when making your choice. The double door will be center on the 12 foot side.
Do this at top and bottom and snap lines. The large front door adds a unique appeal to project. You could adjust the size of barn to suit your needs. However, a shed with a skid foundation offers a variety of possibilities depending on its size, location and use. Nail siding into place using 8d galvanized box nails. Smooth edges with sandpaper and remove the residues. Just take a tape measure and measure diagonally from one corner to the other. It might be at this point you may need to decide if you want gaps or no gaps between the boards.